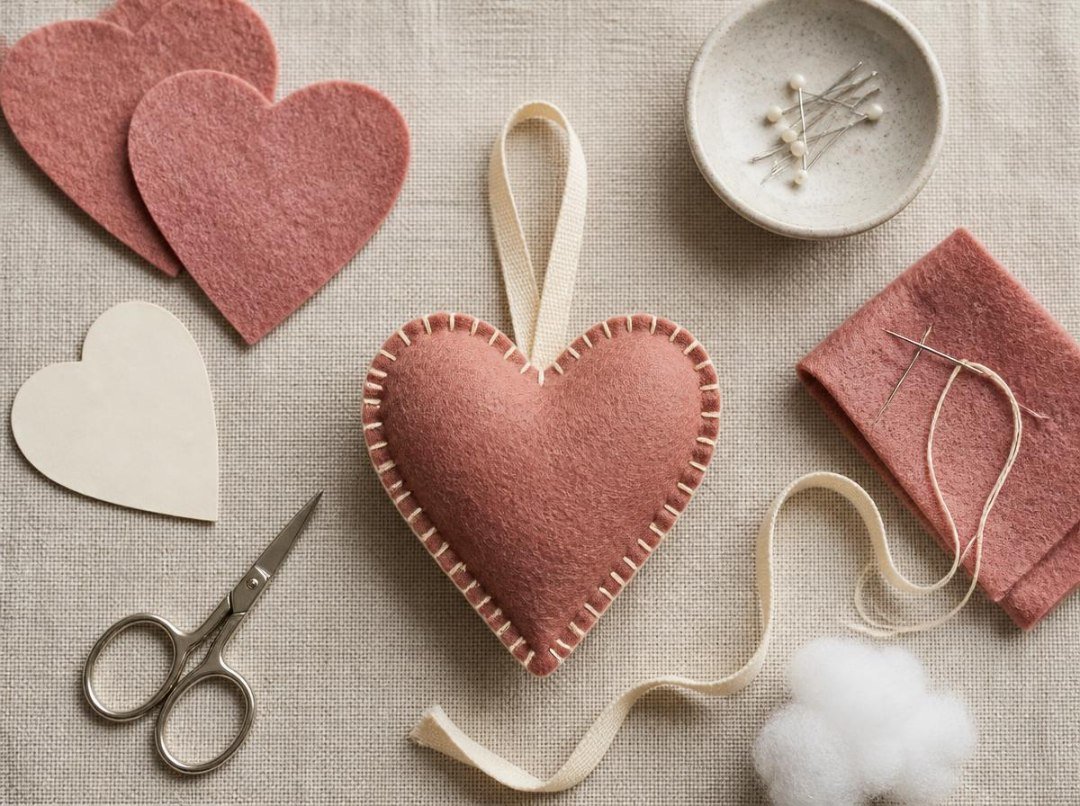

A small felt ornament is a good way to practise sewing by hand. You can see every stitch, the pieces are manageable, and the finished decoration doesn’t need complicated shaping. For this beginner project, we’ll make a simple stuffed heart with a hanging loop.
Choose a sturdy, flexible felt and take your time with the cutting. Most uneven-looking ornaments start with pieces that don’t match, rather than with imperfect stitches.
Materials for one felt heart ornament
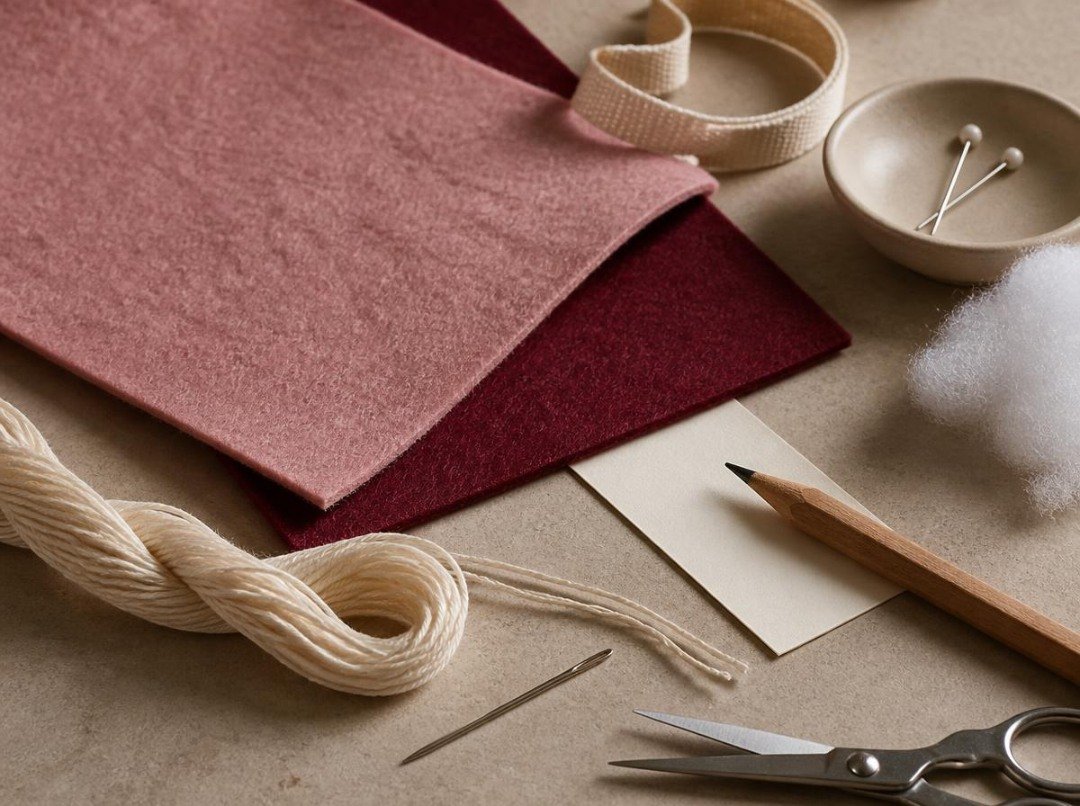
- Two small pieces of medium-weight felt, enough for a pair of matching hearts
- Paper, pencil, and scissors for a template
- Small sharp scissors for fabric
- Hand-sewing or embroidery needle
- Embroidery floss or strong sewing thread
- A small amount of polyester stuffing or other suitable filling
- About 15 cm of narrow ribbon or cotton cord for the loop
- Pins or removable fabric clips
Skill level: beginner. Technique: blanket stitch around two felt shapes. Template: draw your own heart approximately 8 cm tall; the size can be adjusted.
Step 1: Make a simple paper template
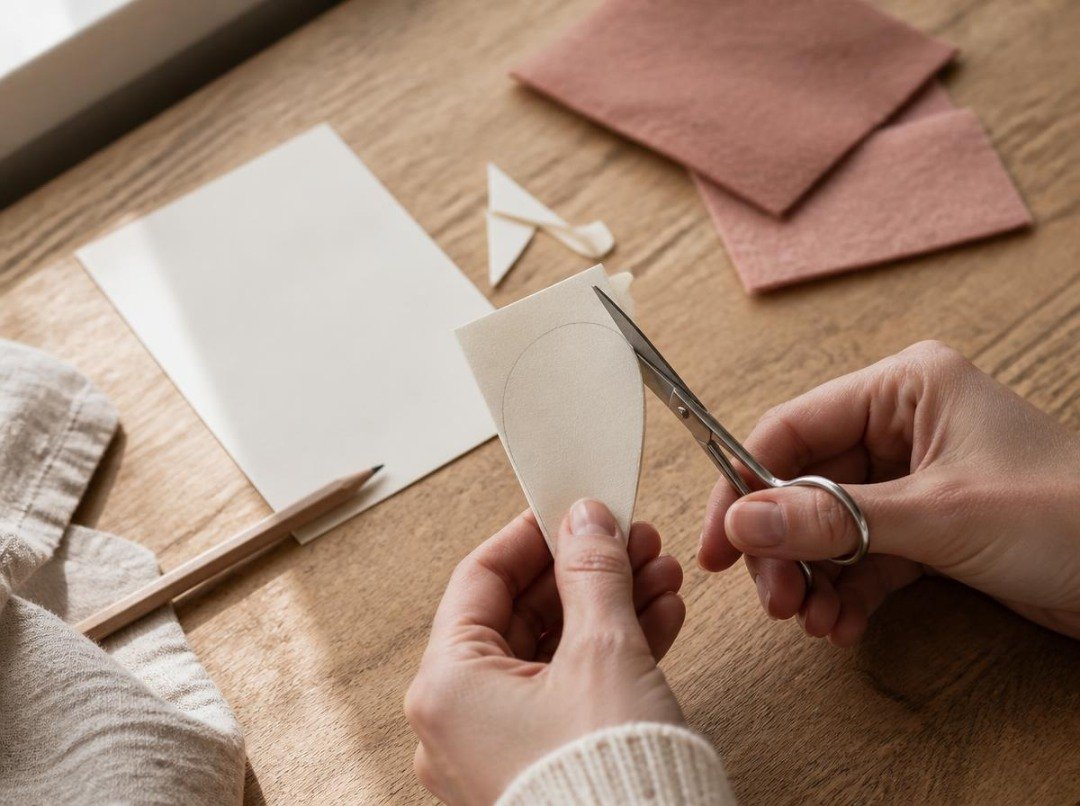
Fold a piece of paper in half. Draw half a heart with the center line along the fold, then cut it out while folded. Open the paper. Both sides will now match.
For a first attempt, use a gently rounded shape without an exaggerated dip at the top. Narrow points and tight corners are harder to stitch neatly.
Step 2: Cut two identical felt pieces
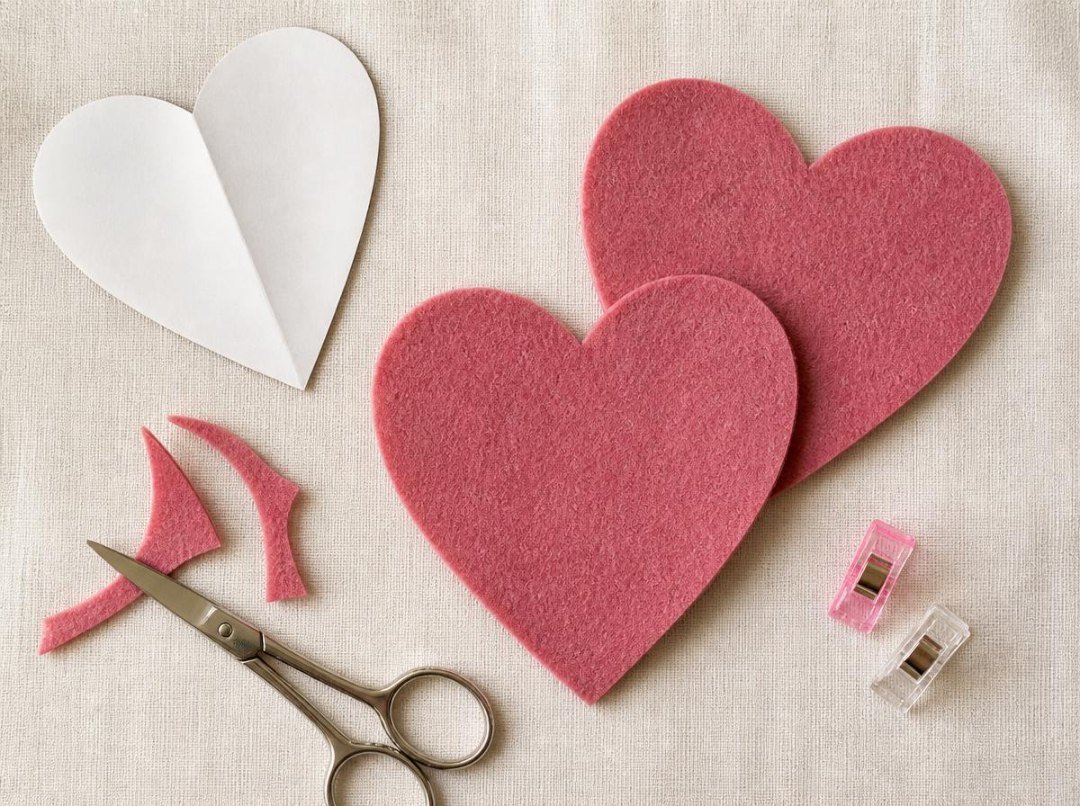
Place the paper heart on your felt and hold it with a few pins or clips. Cut slowly around the outside without lifting the fabric off the table more than necessary. Repeat with the same template for the second heart.
If the edges look fuzzy, don’t keep trimming until the heart gets smaller. Remove only loose fibers, then check that the two pieces line up.
Step 3: Prepare the hanging loop
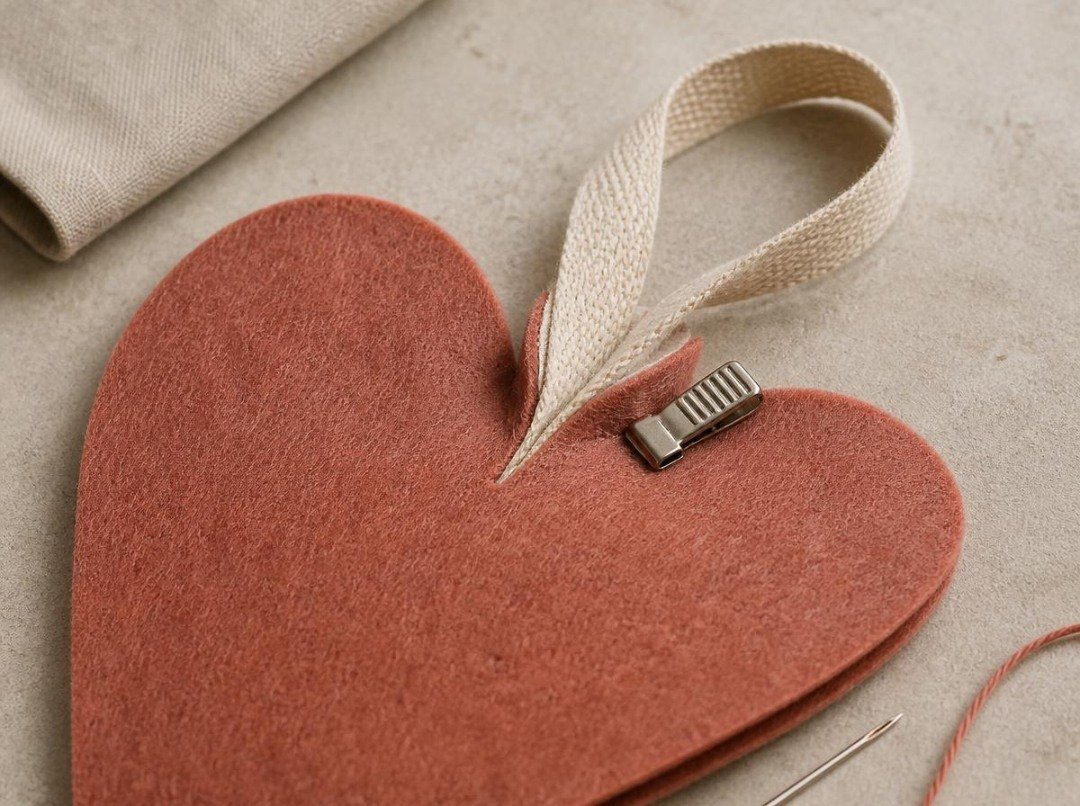
Fold the ribbon or cord in half and place both cut ends between the felt hearts at the top center. Let about 1 cm of the ends extend into the inside of the ornament. Pin the pieces together so the loop doesn’t slide away while you sew.
If the ribbon is slippery, a couple of small securing stitches can hold it in place before you work around the edge.
Step 4: Start a blanket stitch
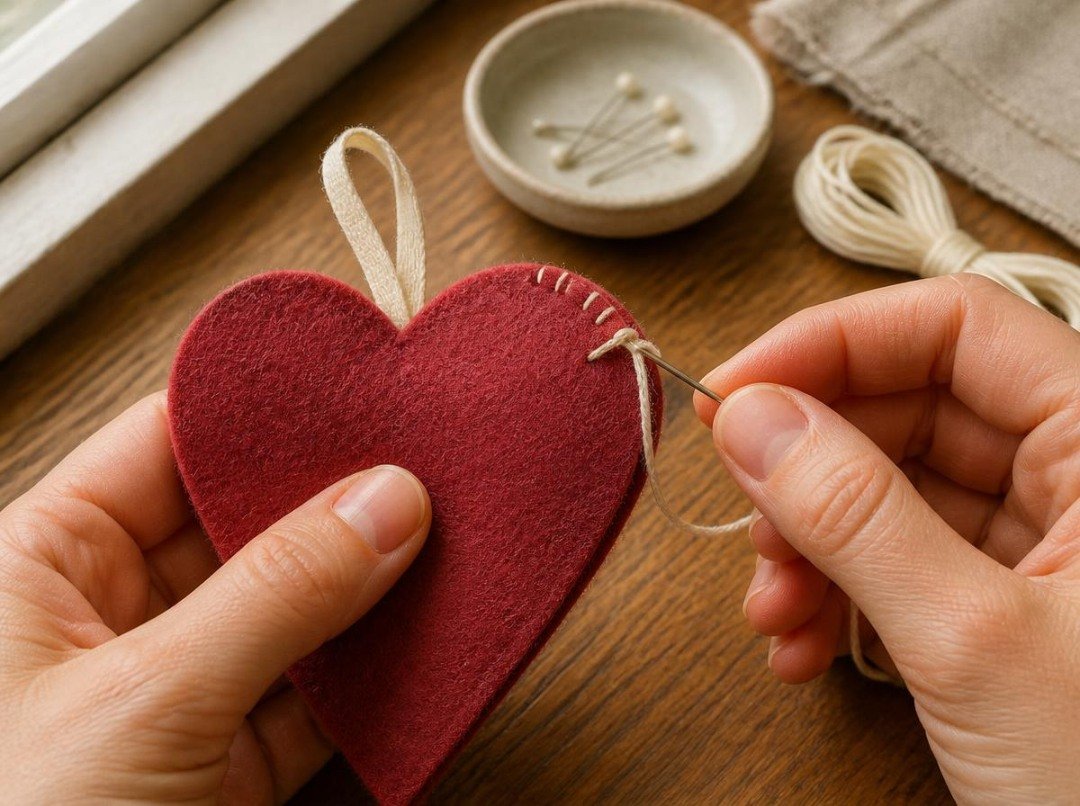
Thread your needle, knot the end, and hide the knot between the two pieces. Start a little below the heart’s top curve. Bring the needle through both felt layers a few millimeters in from the edge, then pass it through the small loop of thread before pulling snugly. This forms the characteristic edge of a blanket stitch.
Keep the distance from the edge and the spacing between stitches as consistent as you comfortably can. You do not need to count every millimeter. Smooth stitches with an even rhythm look better than stitches pulled very tight.
Step 5: Sew around the curves
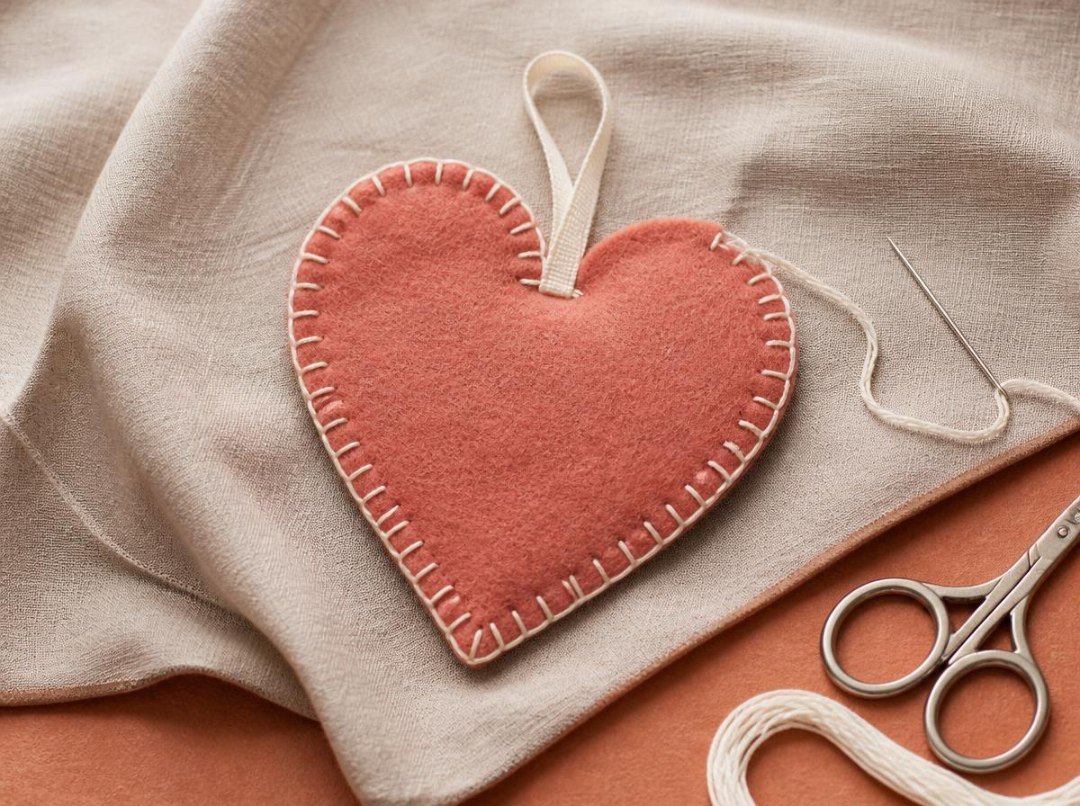
Work along the first curve toward the bottom point. At the point, make a stitch that catches the tip neatly, then continue up the other side. Ease the layers back into alignment whenever you notice one moving ahead of the other.
At the top indentation, use slightly closer stitches so the edge follows the change in direction. Stitch through the ribbon ends as you pass the loop for extra security.
Step 6: Add stuffing before closing
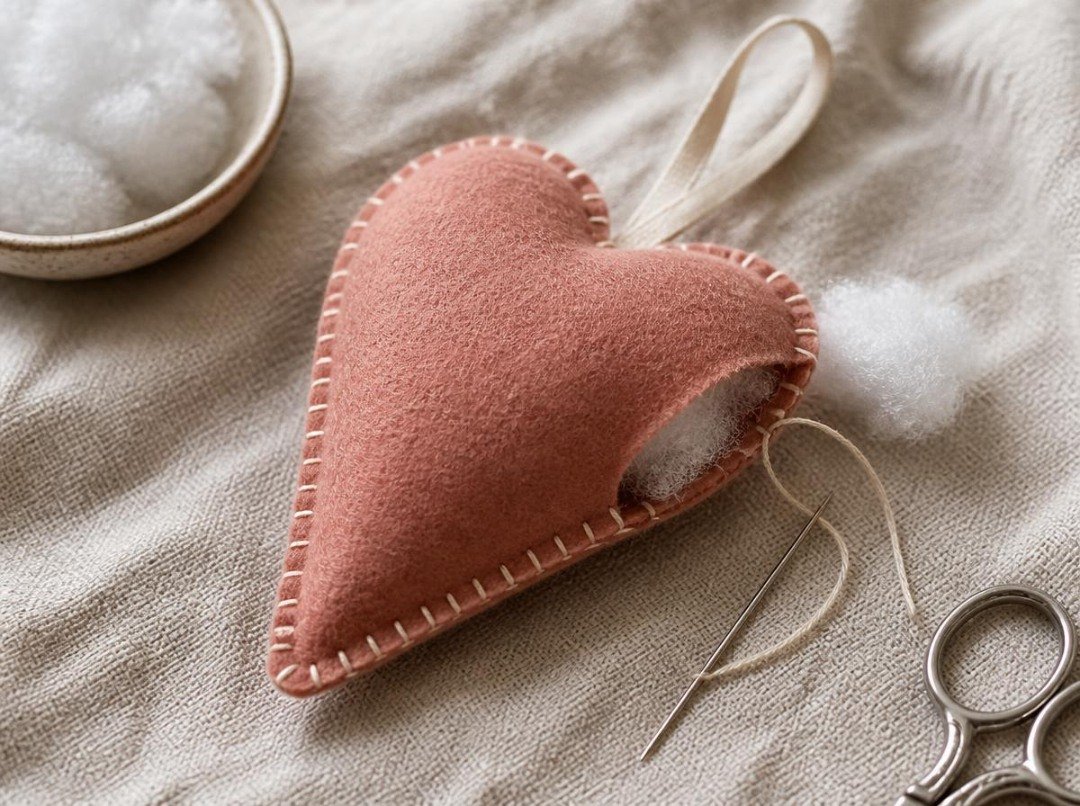
Stop when an opening of roughly 2–3 cm remains. Don’t force a large amount of stuffing; add smaller pieces instead. Push a little into each rounded half and toward the bottom tip. The heart should feel softly padded, not stretched.
If the stitching begins to spread or the fabric distorts, remove some stuffing before closing the gap.
Step 7: Finish the seam
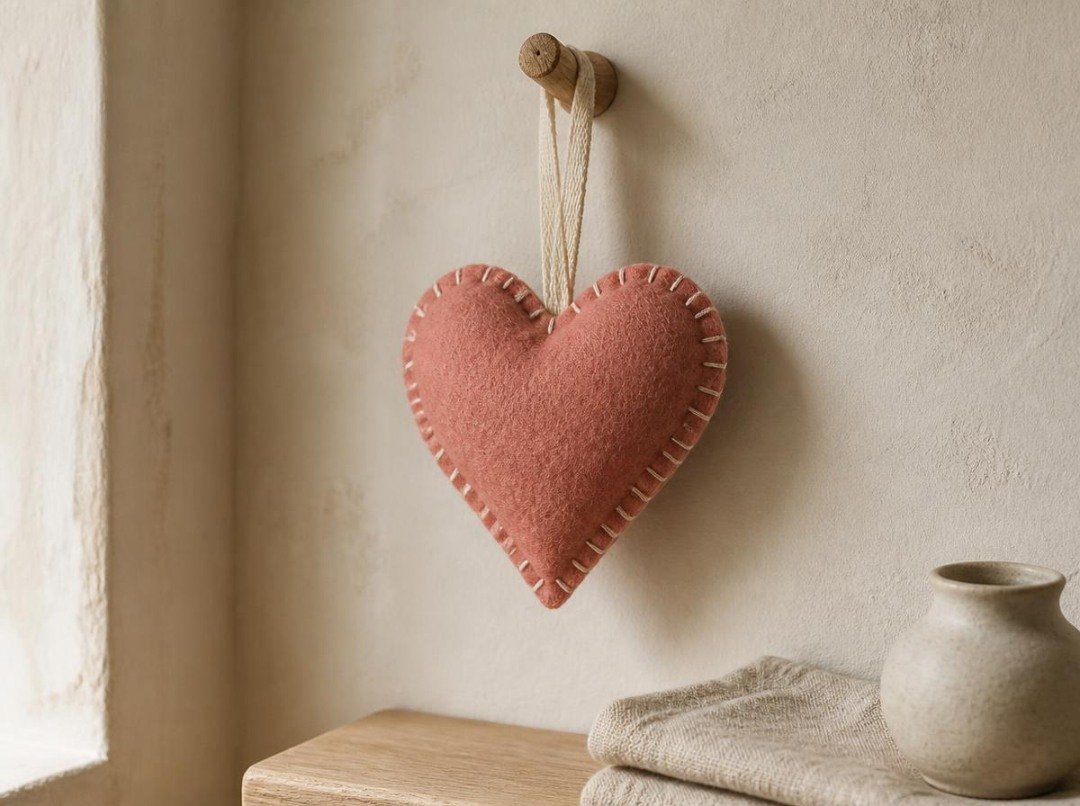
Continue the blanket stitch across the opening. Secure the final stitch with a small knot, then bring the needle through the inside of the ornament and out at another point. Gently pull the thread and trim close to the felt so the tail disappears inside.
Check the loop with a light pull, smooth out the edge with your fingertips, and the ornament is ready to hang.
Three common problems
| Problem | Likely cause | Simple fix |
|---|---|---|
| Wavy edge | Thread pulled too tightly | Loosen your stitch tension and let the felt lie flat |
| Uneven shape | Two felt pieces differ slightly | Use one paper template for both and clip pieces together |
| Stuffing shows through | Stitches too far apart or felt too thin | Use closer spacing, a denser felt, and less stuffing |
How to change the design
Once you can sew the heart shape comfortably, try an initial, a tiny felt flower, or a small embroidered detail on the front. Add these decorations before joining the two pieces so the stitches remain hidden on the inside.
For a cohesive set, keep the same heart template and change only the thread color, ribbon, or appliqué. You’ll spend less time cutting and more time making the details your own.
Before making ornaments as gifts
Check that sewn-on decorations and hanging loops are secure, and keep small parts away from young children and pets. Decorative ornaments are not automatically suitable as toys. For commercial sales, research the relevant product safety and labeling requirements in your market.